Nailed It!

Nailed It!
By: Gillian Tokar

Whether it’s a quick coat before a job interview or a fresh set for an event, keeping your claws cute is the key to nailing your look.
Since the dawn of time (or whenever humans came around or whatever), people have decked out their nails to make the masses jealous. Rich and powerful ancient Egyptians painted theirs red to portray their status and power. In 3,000 BC, Chinese elites kept their nails long and fierce while decorating them with precious stone inlaid nail guards.
Do you think someone could work practically with those? Absolutely not. So if you think about it, pampering your nails basically just lets everyone else know you’re richer, hotter, and way more royal than everyone else.
Before we even talk about designs, let’s talk about nail care, babe. The healthier your natural nails are, the longer your mani will last; and the longer they’ll keep from chipping and breaking.
Nail oil
Whether you want to use a cream, an oil, or a balm, you need to keep your cuticles moisturized! You don’t want dry skin peeling and flaking over your fresh set. Adding a quick, moisturizing massage into your daily routine is going to improve blood circulation and reduce the risk of infection, allowing the nail plate to grow stronger and healthier!

Cuticles
Say it with me: Prep. Your. Cuticles. Before starting your set, soak your hands in warm water before applying a small drop of cuticle remover. Use a cuticle pusher to gently push back the cuticle that has grown over your nail plate. If you want them really neat, clip back the excess skin with cuticle clippers, but be careful not to nick yourself!
Jewels, not tools!
Stop using your nails to do things! It doesn’t matter if you’re rocking a natural mani or a full-on set, using them as tools will cause them to chip and break before you get the chance to show them off. Get someone else to do things for you like open cans and peel-off stickers; they should be already, t.b.h.

Alright fine, we can talk about designs now. Here are a few ideas to keep you up to date with the latest and the greatest of the polish industry; try your hand at one and see what you think!
Aura Nails
If you’re bougie, you can use an airbrush machine to get those lovely little halos. If you’re balling on a budget, try a gel or a regular polish version. If you’re using gel, grab a blooming gel for your kit. Paint your base color, and after curing and removing the sticky layer, apply the blooming gel and a drop of your aura color. The blooming gel is going to make it spread and fade. When you like how it looks, throw it under the lamp and finish your set as usual.
Don’t think I forgot about my regular polish babes. Remember when we used to use makeup sponges for a cute gradient? Same concept, but round. Paint a base layer on the nail with the shade you want to use for the center of your aura. Take the color you want for the outside ring and paint it into a circle the size you’d like your design to be on the flat face of a sponge. Stamp it onto your nail and layer it on until you reach the pigmentation you want! Once you’re done, and those layers are dry, seal it in with your glossy top coat.
3D designs
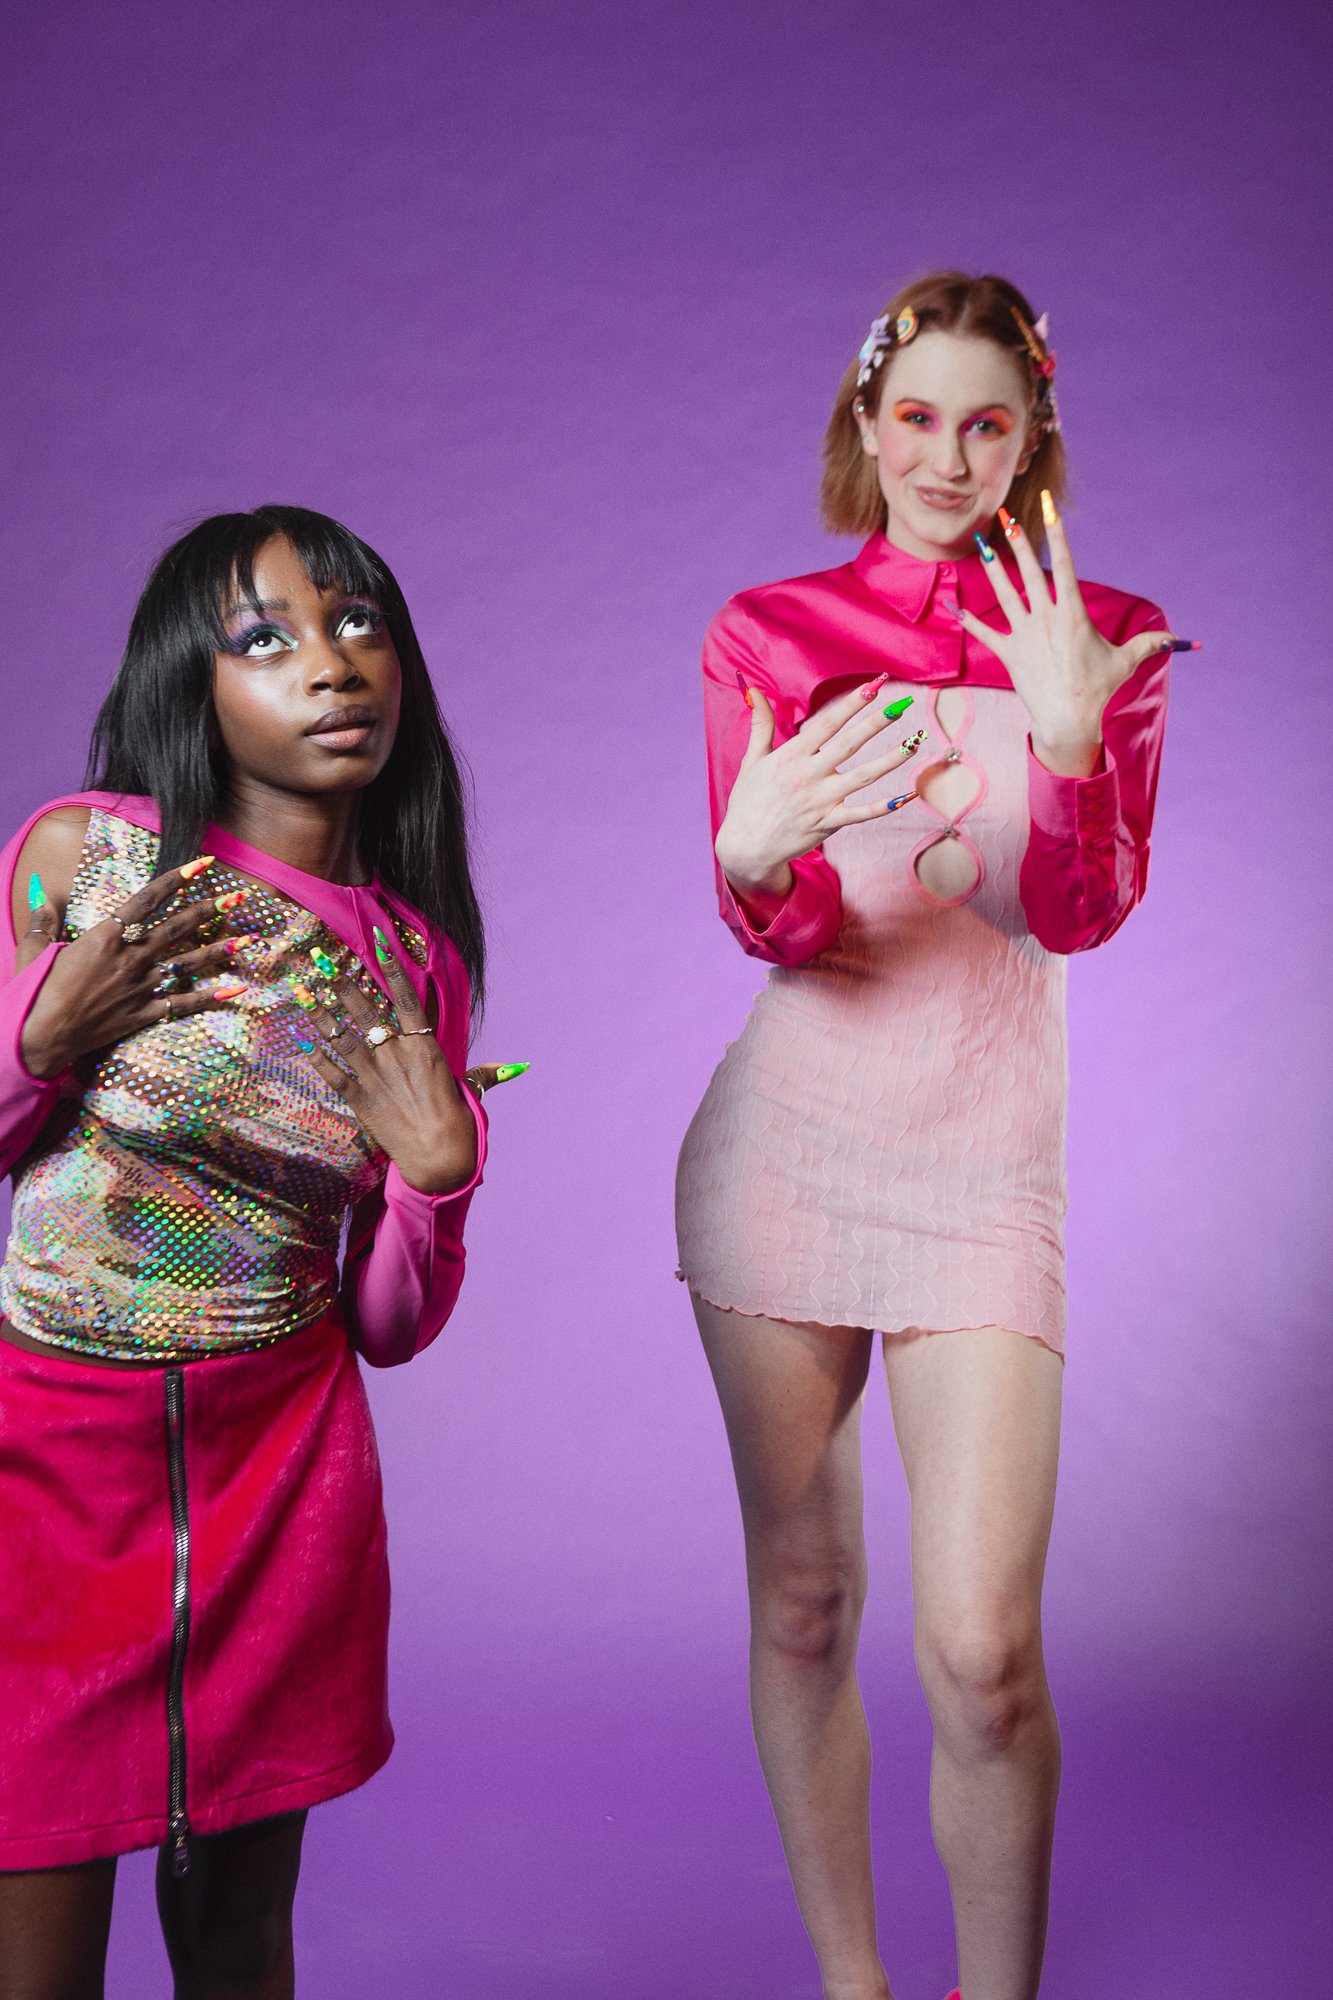
(Left) Skirt: Beacon's Closet
The world is your oyster when it comes to 3D designs. You can throw on some rhinestones or charms to make your set pop. The latest and greatest though? 3D sculpted gel designs. Use a poly gel or a sculpting gel to sculpt out some fun blobs, a cute heart, and anything else your heart desires!
Nail piercings
If you’re using a press-on or an artificial tip, this could be a great addition to your set. Using a thin bit on your nail drill, poke a small hole completely through the nail. You can run a simple hoop through, or spice it up with a charm or long piercing post. There’s no limit to the designs you can add a piercing too!
It takes something as small as a fresh new set to completely transform your confidence. Whether you do your nails yourself, have a loyal nail tech, or do them on occasion, it’s important to know how to nail your nail care to be your fiercest self.
My best nail design tip? Have fun! Good luck with your nails babes, and as always, don’t forget to tip your stylist on your way out.

Editor in Chief, Creative Dir: Pilar Bradley
Editorial Dir: Nadia Adams
Senior Photo Dir: Phillip Lewis
Senior Fashion Dir: Monica Robles
Junior Photo Dir: Justice Tilford
Junior Fashion Dir: Brianna Tirado
Social Media and PR Dir: Maddie Paradise
Models: Cori Strike, Diamond Durant
Photographer: Dahlia Mallebranche
Photography Assistant: Ashley Minier
Co-Stylists: Gabriella Naples, Relly Lee
Assistant Stylist: Shereen Kheradyar
Makeup Artist, Nail Artist, Senior Beauty Dir: Gillian Tokar
Makeup Artist: Lily Parfitt
Nail Artist: Rose Schierlitz
Videographer, Production and Set Dir: Luna Abreia
Graphic Designer: Suma Deshpande